No Products in Your Cart
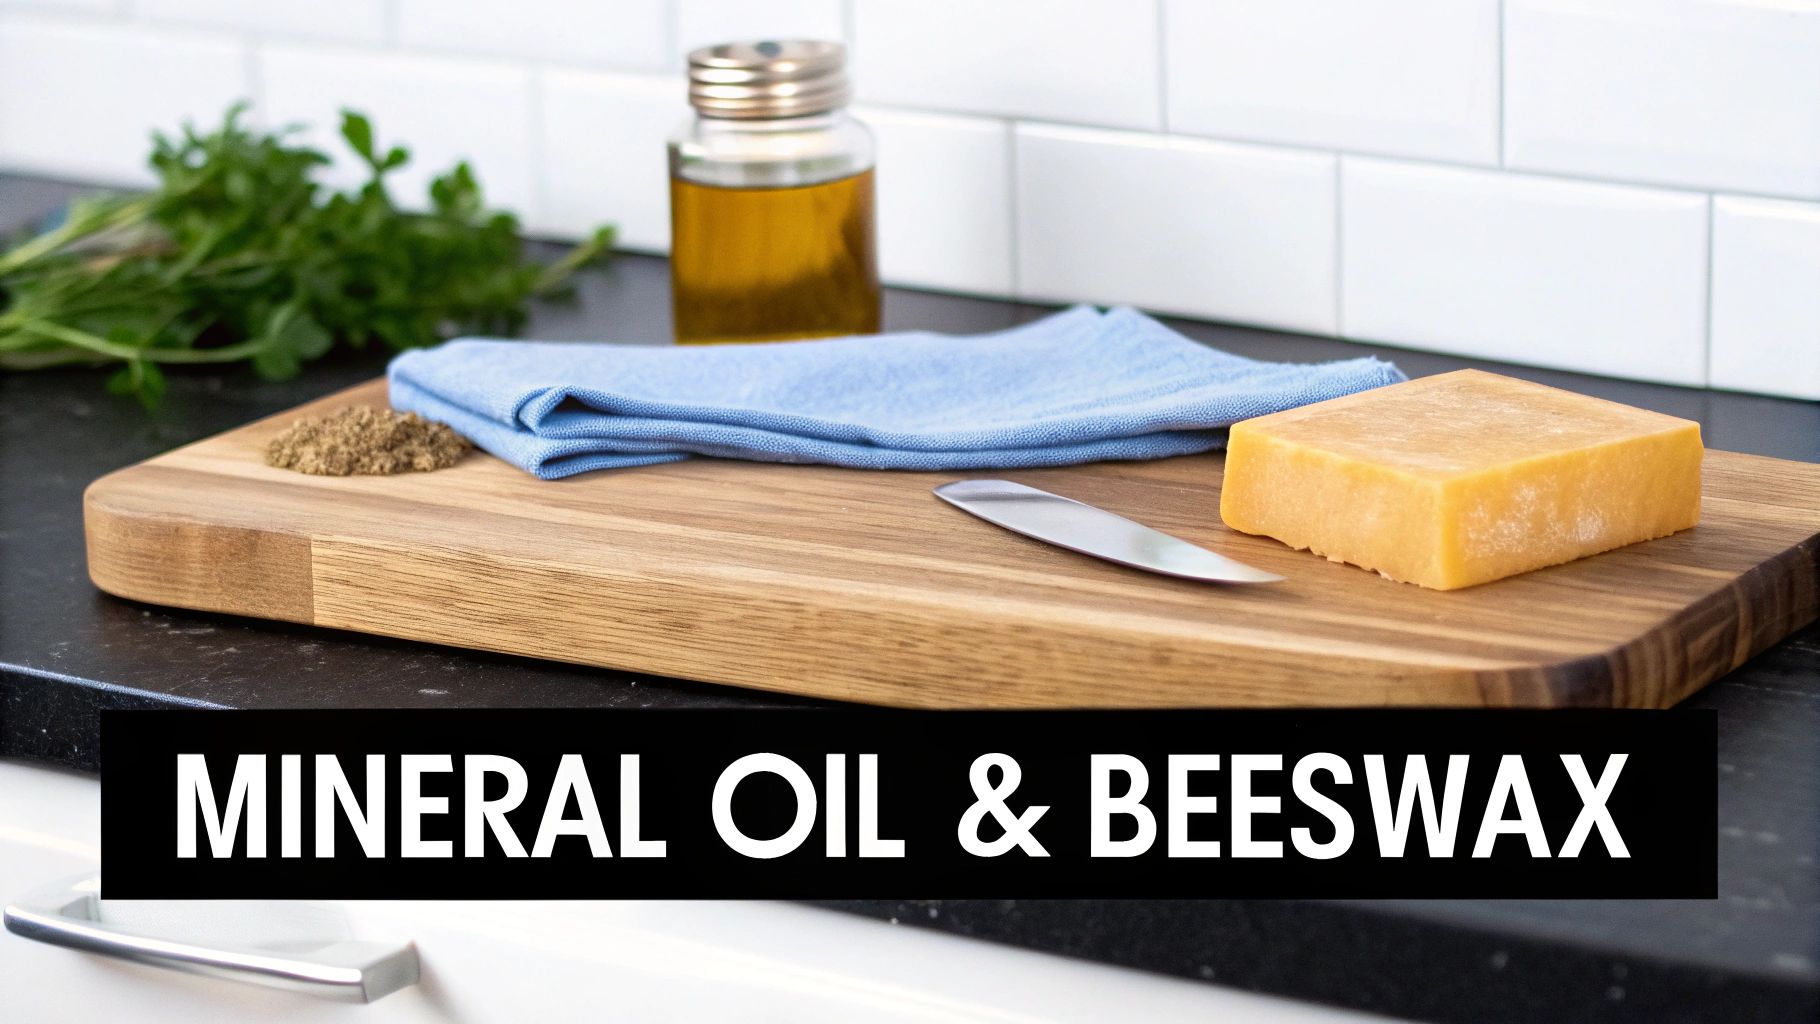
When it comes to choosing the best finish for a cutting board, most woodworkers I know land on a simple, time-tested blend: food-grade mineral oil and beeswax. It just works. This classic combo hits the sweet spot, offering deep protection for the wood, solid water resistance, and an application process that couldn't be easier.
It’s the perfect all-around choice because it nourishes the wood from the inside out, rather than sitting on top like a film that could chip off into your food.
Picking the right finish is one of the most critical decisions you'll make when crafting a cutting board. This isn't just about looks—it's about food safety, durability, and the lifespan of the piece you've poured your effort into. The main goal is to shield the wood from moisture and bacteria while ensuring the surface remains completely safe for prepping food.
This brings us to a fundamental fork in the road: do you use a penetrating oil or a film finish?
This simple decision tree cuts right to the chase. If the surface is for food prep, a food grade penetrating oil is the only safe and practical option. Of course, the species of wood you choose also affects how the finish soaks in. To get the full picture, you can learn more about the best wood types for cutting boards in this article.
To give you a head start, here’s a quick rundown of the top food-safe options we'll be diving into.
This table summarizes the key characteristics of the most common food-safe finishes, helping you make a quick, informed decision based on your project's needs.
| Finish Type | Food Safety | Application Ease | Durability | Maintenance Level |
|---|---|---|---|---|
| Mineral Oil | Excellent | Very Easy | Moderate | High (Monthly) |
| Beeswax Blends | Excellent | Easy | Good | Medium (Bi-Monthly) |
| Tung Oil (100% Pure) | Excellent (Cured) | Moderate | Excellent | Low (Annually) |
| Walnut Oil | Good (Allergy Alert) | Easy | Good | Medium (Bi-Monthly) |
Each of these has its pros and cons, but all are solid choices for creating a beautiful, functional, and safe cutting board. Now, let’s get into the details of each one.
To pick the right finish for a cutting board, you first need to understand how different products actually work with wood. It really comes down to a tale of two very different approaches: finishes that soak in and finishes that sit on top.
Think of the wood fibres in your cutting board as a dry, thirsty sponge. It’s porous and ready to absorb whatever you give it. How you treat that "sponge" is the single biggest factor in its lifespan and safety.
Penetrating oils, like mineral oil and pure Tung oil act like a deep conditioner for wood. When you apply them, they don’t just coat the surface; they soak deep into that "sponge," filling the pores from the inside out.
This process, known as saturation, is everything. It nourishes the wood, keeping it hydrated and flexible. This is what stops a board from drying out, which is the number one cause of cracking and warping. You’re essentially moisturizing the wood to keep it healthy and resilient against daily use.
Now, let's talk about film finishes like polyurethane, varnish, or lacquer. These products work by creating a hard, protective layer on top of the wood. Using our sponge analogy again, this is like shrink-wrapping it in a thin sheet of plastic.
On a tabletop or a picture frame, that plastic shell is fantastic. It gives you incredible protection against scuffs, spills, and scratches. (Personally I was always more of a fan of hard wax finishes like Osmo Polyx, Rubio Monocoat, or Odies oil for tabletops. But I digress…) But using film finishes like polyurethane to seal a cutting board? The chemicals they contain are far from food safe. Even after the long cure time (~1 month or so for poly) the moment a sharp knife hits that surface you’ll dull the knife, break the seal around the wood, and potentially add some extra plastic flavoured seasoning in your dinner.
In addition to the unfortunate flavour of polyurethane in your vegetables, Every knife cut that perforates the chemical "plastic wrap” will allow water to seep underneath the finish and get trapped against the wood. This creates a perfect breeding ground for bacteria and will eventually cause the finish to peel and flake off.
Film finishes create a barrier that’s designed to stay perfectly intact. On a surface made for chopping and slicing, that barrier is guaranteed to fail, putting both the safety and the integrity of your board at risk.
The terms "food-safe" and "curing" can be pretty confusing, especially with film finishes. While many modern varnishes are technically non-toxic after they have fully cured, that doesn't make them right for a cutting surface.
Curing is just the chemical process where a liquid finish hardens into a solid. For an oil like pure tung oil, it means reacting with oxygen to polymerize into a tough, non-toxic, and water-resistant finish. For varnishes, it means the solvents evaporate, leaving behind that hard resin shell.
The problem isn't about toxicity once cured; it's about durability in the real world. A cured varnish on a cutting board simply cannot stand up to knife blades. Its failure mode—chipping directly into your food—is what makes it a fundamentally poor and potentially unsafe choice.
This is exactly why woodworkers overwhelmingly recommend penetrating oils. They become part of the wood itself, not just a fragile layer sitting on top. In Canada, where home cooking surged by 25% after the pandemic, the demand for durable, safe kitchen tools has shot up. In fact, 51.8% of cutting board revenue now comes from household use. Local woodworkers have found that using the right food-safe penetrating finishes can extend a board's life by 40-50%, mostly by preventing warping in Canada's wild climate swings. You can dive deeper into these trends in the full cutting boards market report.
Once you grasp this core difference—soaking in versus sitting on top—it becomes clear why the best finishes for cutting boards are always the ones that work with the wood, not against it. This simple concept makes every other decision about finishing your project a whole lot easier.
Now that we've covered the basics, it's time to meet the top contenders for finishing your cutting boards. Each option brings something different to the table, making them better suited for certain woods, uses, and maintenance routines. Think of these as different tools in your finishing toolkit; knowing which one to grab for the job at hand is the secret to a great result.
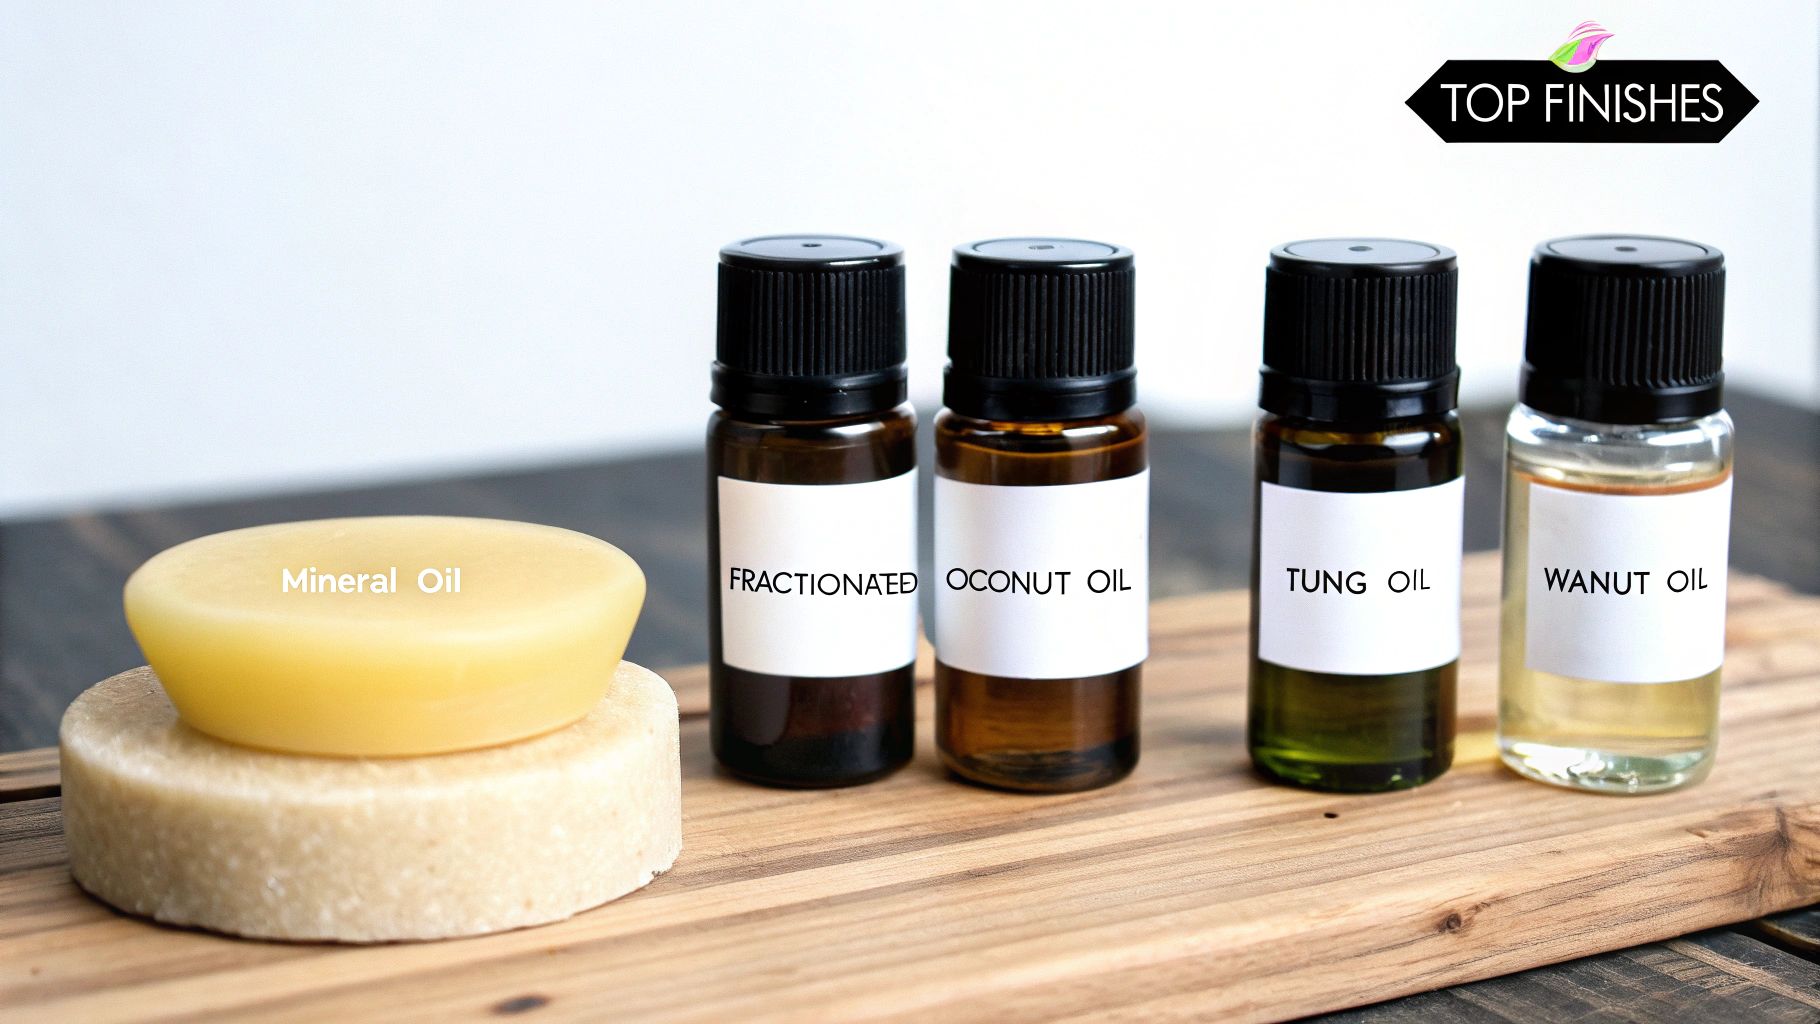
We'll walk through the most reliable and popular choices, from the industry-standard mineral oil to natural drying oils and protective waxes. This breakdown will cover the pros, cons, and ideal uses for each, giving you the practical knowledge to choose with confidence.
If there’s a go-to finish in the cutting board world, it’s food-grade mineral oil. It’s colourless, odourless, and completely inert, which means it won’t go rancid or impart any weird flavours to your food. Its main job is simple: to soak into the wood fibres, keeping them hydrated and preventing the board from drying out and cracking.
Its biggest advantage is simplicity. The application is foolproof—just pour it on, spread it around, and let the wood drink it up. But there’s a catch. Mineral oil is a non-drying oil, which means it never truly hardens or cures. It just sits in the wood pores in a liquid state, which means it can be washed away over time with soap and water.
This leads to its main drawback: it requires frequent reapplication, usually about once a month, to keep the board properly protected. For many makers, though, this easy maintenance is a small price to pay for its safety and reliability.
A more recent player in the game is fractionated coconut oil. This isn't the same stuff you have in your pantry. This version has had its long-chain triglycerides removed, a process that keeps it liquid at room temperature and, most importantly, prevents it from ever going rancid.
It works almost exactly like mineral oil, soaking deep into the wood to hydrate it from the inside out. It’s a fantastic plant-based alternative for anyone who prefers to avoid petroleum-based products.
Next up are the natural drying oils, specifically 100% pure tung oil and walnut oil. These are a different breed from mineral oil because they go through a process called polymerization. When exposed to air, they actually cure and harden, creating a more durable, water-resistant finish that becomes part of the wood itself.
100% Pure Tung Oil:
This is the champion of water resistance. Once fully cured (which can take a few weeks), pure tung oil forms a tough, resilient, and non-toxic shield that won’t wash away. The key here is "pure"—a lot of products labelled "Tung Oil Finish" are actually varnishes loaded with additives, so always check the label.
Walnut Oil:
Similar to tung oil, walnut oil cures to a hard, satin finish. It's a breeze to apply and gives the wood a rich, warm glow. The only major thing to keep in mind is a potential concern for those with nut allergies.
The big win with a drying oil is durability. You trade a longer curing time for a finish that needs far less maintenance, often just a touch-up once or twice a year.
While oils are great for hydrating wood from within, they don't offer much protection on the surface. That’s where beeswax comes in. When blended with an oil like mineral oil, it creates a "board conditioner" or "board butter" that gives you the best of both worlds.
The oil soaks deep into the fibres to prevent cracking, while the beeswax stays closer to the surface. There, the wax forms a water-repellent barrier that makes water bead up instead of soaking in. It also helps fill in minor knife scores and gives the board a beautiful, silky feel. This one-two punch drastically improves the board's defence against moisture.
For our audience of cabinet shops and charcuterie makers, this dual-action protection is crucial. Durability reports show that properly finished boards resist warping by as much as 85% in the freeze-thaw cycles common in Ontario winters.
These blended conditioners are the secret to a premium, long-lasting board. By using both an oil and a wax, you're getting a complete protection strategy: deep hydration from the inside and a tough moisture barrier on the outside. You can explore our collection of professionally formulated food-safe oils and waxes to find the perfect solution for your project.
Picking the right finish is only half the battle; the real magic happens in the application and care. Even the best oil or wax blend won't perform if it’s slapped on in a hurry. The goal here is to let the wood drink up the finish, creating a deep, resilient, and food-safe barrier that looks and feels fantastic.
This process is what turns a raw, thirsty piece of wood into a kitchen workhorse ready for years of chopping and slicing. Let’s walk through the right way to do it, from prepping the surface to setting up a dead-simple maintenance routine that’ll keep your boards in prime condition.
Getting a flawless, durable finish is easy when you follow the right steps. The key is patience—giving the wood plenty of time to absorb the finish is the secret to a protective layer that lasts.
1. Start with a Flawless Surface
Before a single drop of oil touches your board, the prep work has to be perfect. Sand your cutting board through the grits, ending with at least 220-grit sandpaper for a silky-smooth surface.
For an even better feel, "pop the grain" by wiping the board with a damp cloth. Let it dry completely, and you’ll feel tiny wood fibres standing up. A final, light sanding knocks them down, leaving the surface incredibly smooth.
2. Apply the First Generous Coat
Set your board on a workbench or non-porous surface. Don’t be shy—pour your chosen finish, like food-grade mineral oil, directly onto the wood. Use a clean, lint-free cloth to spread it evenly over every surface: top, bottom, and all four sides. The first coat is always the heaviest because the wood is at its thirstiest.
3. Let the Wood Drink It In
This is where patience really pays off. Let the oil sit on the surface and soak deep into the wood fibres for at least 30 minutes. Letting it sit overnight is even better. You’ll literally see the wood drink up the oil, with some spots absorbing it faster than others.
Pro Tip: The 'Oil Bath' for Maximum Saturation
For the ultimate first-time treatment, especially on thick end-grain boards, give it an "oil bath." Place the board in a shallow pan and pour in enough oil to submerge the bottom half-inch. Let it soak for several hours, then flip it and repeat. This guarantees the deepest possible penetration and hydration right from the start.
4. Buff Off the Excess
After the board has absorbed all it can, you'll have a thin layer of excess oil on the surface. Take a clean, dry cloth and buff the entire board vigorously. This step removes any sticky residue and leaves a beautiful, smooth satin sheen. The board should feel nourished, not greasy.
Your work isn't over after that first application. A cutting board is a tool that gets used, washed, and exposed to everything. Regular maintenance is what keeps it protected from water, food stains, and bacteria. The good news? It’s incredibly simple.
A straightforward schedule makes it easy to remember: oil monthly, condition quarterly. A light coat of mineral oil once a month replenishes what gets washed away. Every three months or so, apply a board conditioner with beeswax to restore that water-repellent surface layer.
How do you know when it’s time to re-oil your board? Just do the water test.
This test takes seconds and is the most reliable way to know when your board needs a little attention. By following these steps, you’ll ensure your handcrafted cutting boards don't just look professional but stay safe, functional, and beautiful for years. For more advanced tips, check out our guide on mastering wood finishing techniques for all your projects.
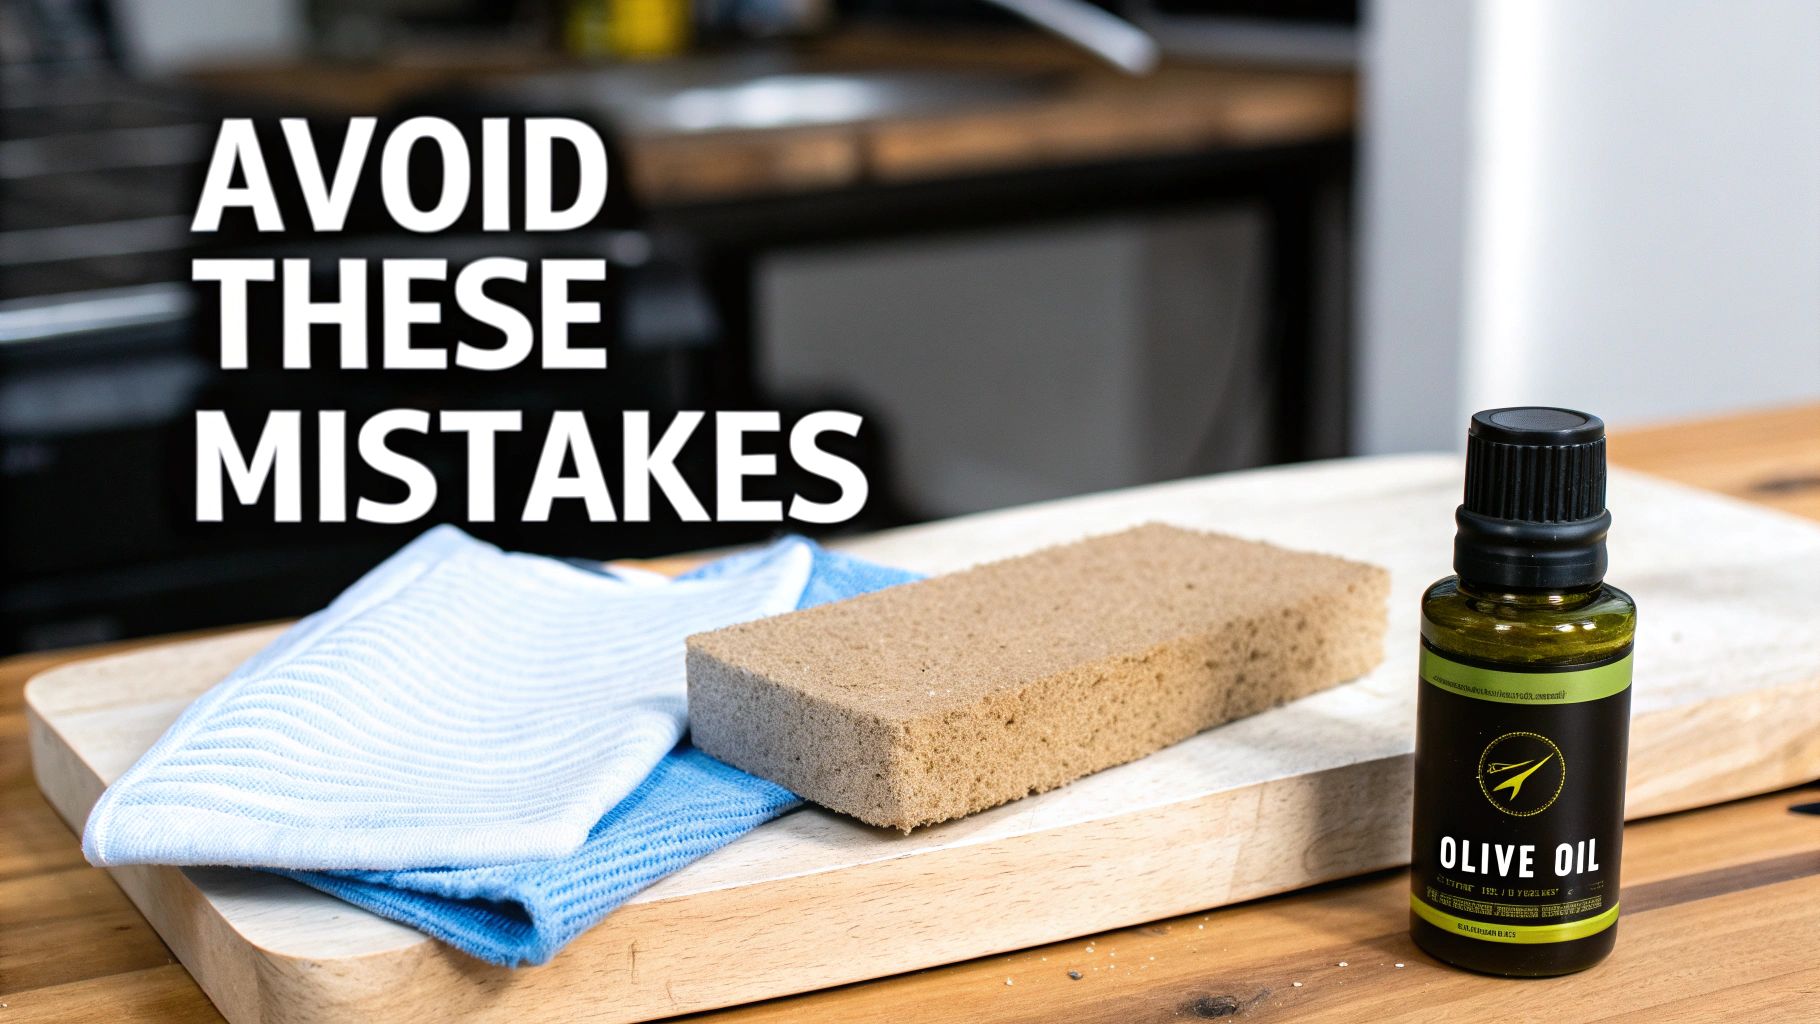
Getting a flawless, long-lasting finish on your cutting board isn’t about some secret formula. It’s about sidestepping the common pitfalls that trip up even well-intentioned woodworkers. Simple errors can wreck the safety, look, and durability of your board. Let's walk through the frequent missteps so your hard work pays off with a beautiful, functional cutting board.
The journey to a perfect finish starts long before you pop the top on a can of oil. A surprisingly common mistake is rushing the surface prep. If you don't sand to a high enough grit—at least 220-grit—the wood will feel fuzzy and rough the second oil hits it. That’s the finish raising the grain, and it’ll highlight every imperfection you left behind.
One of the most frequent—and dangerous—mistakes is grabbing a bottle of cooking oil from the pantry. Using oils like olive, canola, or vegetable oil is a recipe for disaster. Sure, they might make the wood look nice for a day or two, but these are organic, non-drying oils that will inevitably go rancid.
When that happens, you’ve got a real mess on your hands:
Do yourself a favour and stick to a proven, food-safe finish. Mineral oil or a specially formulated cutting board conditioner is the only way to avoid this smelly, unhygienic problem.
Even with the right product, how you apply it makes all the difference. A classic mistake is being too shy with the first coat of oil. A new board is incredibly thirsty. If you apply too little, you'll get dry, vulnerable spots that soak up water unevenly, which is a fast track to warping and cracking. You need to be generous and let the wood drink its fill.
Another critical error is misunderstanding curing times, especially with drying oils like 100% pure tung oil. Unlike mineral oil which just soaks in, tung oil hardens through a chemical process called polymerization. If you rush this or slather on coats too thickly without letting them fully cure, you’ll end up with a perpetually sticky, oily surface that never truly hardens.
But the most critical mistake of all is choosing a chemical based film finish on the surface. Finishes like polyurethane, varnish, or lacquer are wrong for a cutting surface.
Every single cut you make will slice right through that film, creating microscopic chips of plastic that can mix directly with your food. Not only does this pose a health risk, but it also breaks the waterproof seal. Moisture then seeps underneath, causing the finish to peel, flake, and fail. Sticking with penetrating oils that nourish the wood from within is the only safe and practical path for any surface you'll be preparing food on.
Once you get the basics of penetrating oils versus film finishes, the real-world questions always start to pop up. Every piece of wood is a little different, and every maker eventually finds their own favourite methods. This section cuts right to the chase, answering the most common questions we hear from woodworkers and home chefs alike. Think of it as a quick-reference guide to help you finish your projects with total confidence.
For the vast majority of cutting boards, the best all-around finish is a one-two punch of food-grade mineral oil and beeswax. This classic combo gives you the perfect balance of deep protection, food safety, and a straightforward application process.
The mineral oil does the heavy lifting, soaking deep into the wood fibres to hydrate them from the inside out. This is your main line of defence against the wood drying out, cracking, or warping. After the oil has soaked in, a good beeswax blend adds a crucial protective topcoat. The wax creates a water-resistant barrier that makes liquids bead up instead of soaking in, all while giving the board a beautiful, low-lustre sheen and a silky feel.
On a brand-new board, don't be shy. Apply several heavy coats of mineral oil over a 24-hour period, letting the wood drink up as much as it wants. Once it stops absorbing the oil, buff on a quality board conditioner to seal everything in.
Let's make this simple: no. You should never, ever use common cooking oils like olive, canola, corn, or vegetable oil on your wooden cutting boards. It seems like a natural choice, but these oils are organic and will eventually go rancid.
When that happens, you're left with a few big problems:
Stick to finishes made for wood. Food-grade mineral oil or fractionated coconut oil won't cure, but they'll never go rancid. If you prefer a curing oil, 100% pure tung oil or walnut oil are fantastic, safe options that harden into a durable finish.
The rule of thumb is simple: if the oil can go bad in your pantry, it will go bad in your cutting board. Using a stable, food-safe finish is non-negotiable for the life of your board and your own health.
How often you re-oil really depends on how much action your board sees. There's no magic schedule, but a great motto to follow is "oil monthly, or whenever it looks thirsty."
The easiest way to tell is with the water test. Just sprinkle a few drops of water on the surface and see what happens:
For a board that gets used every day, a light re-oiling every two to four weeks is a great routine. To really boost its defences, follow up with a beeswax conditioner every two or three months to restore that water-repellent barrier and keep it looking great.
While many modern polyurethanes and varnishes are technically "food-safe" once fully cured, they are absolutely the wrong choice for any surface you'll be cutting on. These are called "film finishes" because they create a hard, plastic-like shell on top of the wood.
Here’s the problem: the first time a sharp knife hits that surface, it’s going to slice right through the plastic film. This not only creates tiny chips of plastic that can get into your food, but it also breaks the seal.
Every knife cut becomes an entry point for water to seep underneath the finish, trapping moisture. This can lead to bacteria growth and will eventually cause the finish to peel, bubble, and flake away. It's far safer and more practical to stick with a penetrating oil finish that can be easily reapplied and maintained for the entire life of the board.
At The Knotty Lumber Co., we believe a great project starts with premium materials and expert knowledge. From hand-selected hardwoods to the finest food-safe finishes, we provide everything you need to bring your vision to life. Explore our collection of project-ready lumber and finishing supplies today. https://www.theknottylumberco.ca


